


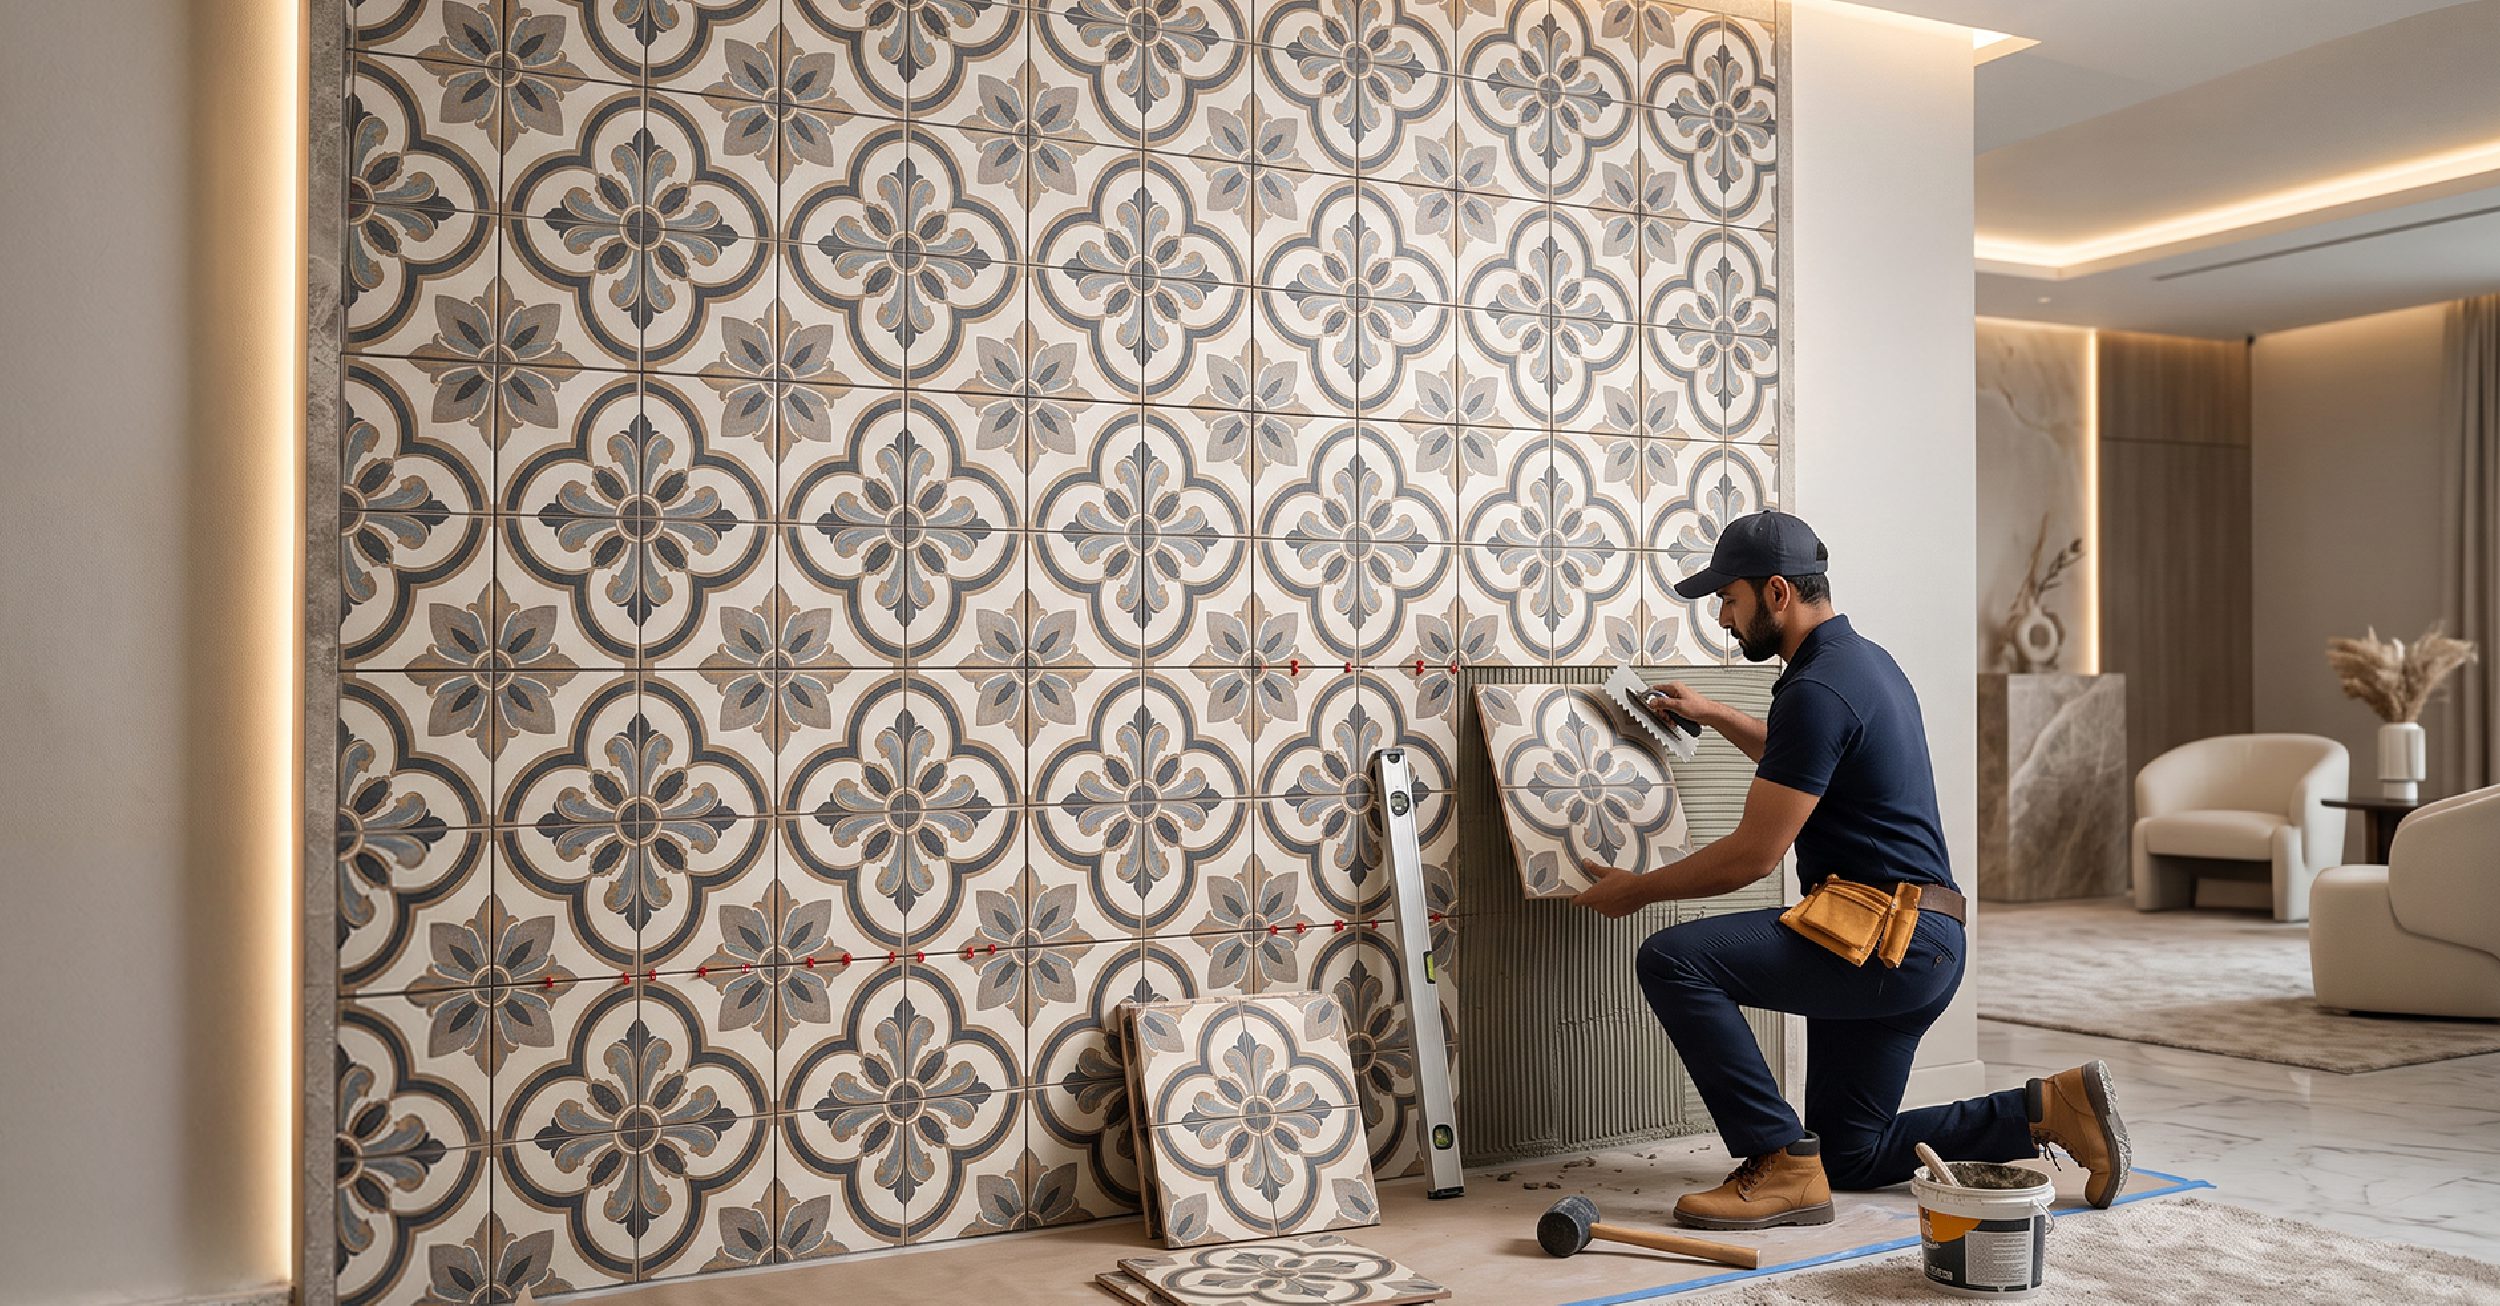
A beautiful wall tile can change the entire character of a bathroom, kitchen or feature wall. But the finished look depends on more than the tile you choose. How it is installed matters just as much.
Uneven walls, the wrong adhesive, inconsistent gaps or rushed grouting can turn an otherwise beautiful tile into a disappointing finish. In wet areas, poor preparation can also lead to loose tiles, mouldy grout and moisture problems behind the surface.
The good news? A proper installation is a fairly straightforward process when the right materials, preparation and workmanship come together.
Here is what you should know before your wall tiles go up.
Before The First Tile Goes Up
The installation begins long before the adhesive is mixed.
The wall needs to be sound, clean, dry and sufficiently even. Dust, loose plaster, grease, old adhesive and other substances that interfere with bonding should be removed. Any cracks or significant unevenness should be addressed before tiling begins.
This stage is easy to overlook because there is nothing visually exciting about preparing a wall. But it is one of the biggest factors in how well the finished installation performs.
For bathrooms, waterproofing deserves particular attention. Tiles and grout themselves should not be treated as the waterproofing system. The underlying wet-area construction needs to be properly prepared before the tile installation starts.
Step 1: Measure The Wall And Plan The Layout
Good tiling starts with good planning.
Measure the wall area carefully and account for doors, windows, niches, corners and other interruptions. Then decide where the tile layout should begin.
A professional installer will usually establish a level reference or datum line rather than simply starting from the floor, because floors are not always perfectly level. The layout should also avoid awkward slivers of tile at corners or along the edges.
This is particularly important with patterned or large-format tiles. A few minutes spent planning the layout can make the difference between a wall that looks professionally designed and one that feels slightly off.
Think About The Visual Centre
If you are installing decorative or designer tiles for wall, think about where the eye naturally lands.
In a bathroom, that could be the vanity wall. In a kitchen, it could be the backsplash behind the hob. Aligning the most important part of the pattern with the centre of the space can make the whole installation feel more intentional.
Step 2: Choose The Right Adhesive
The adhesive is what keeps your beautiful tile on the wall, so it is not the place to cut corners.
Modern tile installation increasingly relies on tile adhesives rather than traditional cement-based fixing methods, particularly for dense vitrified, porcelain and large-format tiles. In India, tile adhesives are covered under IS 15477, with different grades suited to different applications.
The right adhesive depends on:
- The type and size of tile
- The wall substrate
- Whether the area is wet or dry
- Indoor or outdoor application
- The manufacturer’s recommendations
Using the wrong adhesive can result in poor bonding and eventually loose or detached tiles.
For large-format tiles, achieving good adhesive coverage becomes particularly important because air pockets behind the tile can compromise the bond.
Step 3: Apply The Adhesive Correctly
Once the wall is prepared, the adhesive is spread using a notched trowel. The ridges create a more controlled and consistent adhesive layer than simply applying blobs behind the tile.
The tile is then pressed into the fresh adhesive and adjusted into position.
For larger formats, installers may also use a back-buttering technique, applying adhesive to the back of the tile as well as the substrate to improve contact.
This is one reason large-format wall tiles are best handled by experienced installers. Their size and weight demand greater precision than smaller tiles.
Step 4: Get The Tile Spacing Right
Those tiny lines between tiles are doing more than creating a pattern.
Tile spacers help maintain consistent joint widths and keep the installation aligned. The appropriate joint width depends on the tile, its size, the application and the manufacturer’s recommendations. Mapei recommends a minimum joint of 2 mm in the installation guidance it publishes for ceramic wall finishes, with wider joints required in some applications.
Do not assume that a smaller gap always means a more premium finish. Consistency matters more.
And remember that the grout colour becomes part of the overall design. Matching grout can create a quieter, almost seamless look, while contrasting grout can emphasise the geometry of the tiles.
Step 5: Let The Adhesive Cure Before Grouting
Once the tiles are fixed, give the adhesive the time recommended by the manufacturer before grouting.
Grout fills the joints and gives the installation its finished appearance. For standard areas, cement-based grout can be suitable. In areas exposed to frequent moisture, such as showers, a suitable water-resistant or epoxy grout may be worth considering depending on the application.
The grout needs to be applied carefully and cleaned from the tile surface before it fully sets.
For a polished finish, the grout lines should be clean, even and free from excess material.
Step 6: Finish The Edges And Corners
The centre of a wall gets most of the attention, but the edges often determine whether an installation looks complete.
Corners, niches, window reveals and transitions need to be finished neatly. Appropriate trims or sealants may be required depending on the location and design.
In wet areas, changes of plane and movement-prone joints may require an appropriate flexible sealant rather than rigid grout. The exact specification should follow the installation system and manufacturer’s guidance.
How Much Does Wall Tile Installation Cost In India?
This is where tile budgets often get underestimated.
The wall tiles price is only one part of the final cost. You also need to consider adhesive, grout, labour, surface preparation, waterproofing where required, trims and wastage.
Current 2026 estimates place general tile installation labour in India at roughly ₹25–₹60 per sq. ft., with metropolitan cities and more complex installations tending towards the higher end. Large-format installation can cost more because it requires additional handling and precision.
For bathroom wall tiling, current India-focused estimates suggest an all-in installed range of roughly ₹80–₹350+ per sq. ft., depending heavily on the tile, adhesive, grout, labour and specification.
Treat these as planning figures rather than fixed quotes. Your location, wall condition, tile format, pattern, height and installer will all affect the final number.
What Should Your Quote Include?
Before accepting a quote, ask whether it covers:
- Tile material
- Surface preparation
- Waterproofing, where required
- Adhesive
- Grout
- Labour
- Cutting and wastage
- Edge trims or profiles
- Debris removal
- GST, if applicable
A low per-square-foot quote is not necessarily cheaper if several of these items appear as extras later.
Common Wall Tile Installation Mistakes To Avoid
Starting Without Checking The Wall
An uneven or poorly prepared substrate can compromise the entire installation. Fix the wall first.
Using The Wrong Adhesive
Not every adhesive is suitable for every tile. Dense porcelain, vitrified and large-format tiles may require a higher-performance adhesive system.
Skipping The Layout Plan
Starting from one corner without considering the full wall can leave awkward narrow cuts at the other end.
Applying Adhesive In Dots
Random blobs can create voids and reduce contact between the tile and substrate. A notched-trowel application provides more consistent coverage.
Ignoring Tile Spacers
Even small variations in spacing become obvious when repeated across an entire wall.
Rushing The Grouting
Grouting before the adhesive has properly cured can interfere with the installation. Follow the adhesive manufacturer’s recommended waiting time.
Treating Grout As Waterproofing
Grout is part of the finish, not a substitute for proper waterproofing in a wet area.
Forgetting Future Repairs
Keep a few spare tiles after installation. A tile design that is readily available today may be discontinued later.
A Few Smart Tips Before Your Installer Arrives
Order extra tiles. Around 10% additional material is commonly allowed for cuts and breakage, although complex layouts can require more.
Check the batch. Tiles from different batches can have slight shade or calibration variations.
Open several boxes. This helps the installer distribute natural variation rather than creating obvious patches.
Discuss the grout colour beforehand. It can significantly change the appearance of the finished wall.
Approve the layout before fixing starts. Once adhesive is applied, changing the arrangement becomes much harder.
Do not rush the job. Good tiling is a precision exercise. Fast is not always better.
The Tile Is Only Half The Design
Choosing a beautiful wall tile is the fun part. Installation is where that choice has to come to life.
A perfectly aligned pattern, clean grout lines, carefully finished corners and a properly prepared substrate can make an ordinary tile look exceptional. On the other hand, even the most expensive wall tiles design can lose its impact when the installation is rushed.
That is why it is worth treating tile installation as part of the design process rather than an afterthought.
At Unispace, you can explore wall tiles across a range of colours, textures, sizes and finishes, and build a material palette that works from the first tile to the final detail.
Ready To Turn Your Tile Choice Into A Finished Look?
Explore wall tiles at AparnaUnispace and find designs that give your walls the right foundation for a beautiful, lasting finish.